|
Documentation
Hardware
3. Body design
On this page you can find a few pictures of the inventor
assembly:
Before starting the Inventor drawing, it is important to
know which components will be mounted on the robot. This
seems logic but you must be sure that you won’t have to
start over so you won’t waste your time. Make sure that
all components are chosen carefully and that the signal
processing of the sensors is working before starting the
3D drawing. Also make a sketch of the severate parts and
of the location of the components before you start in
Inventor.
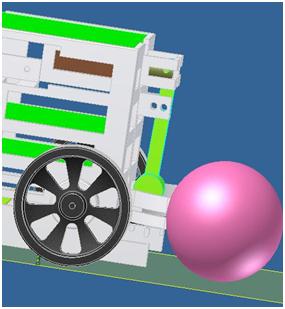
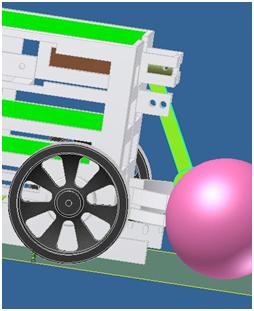
An important part was the kicker. As was required the
ball has to be kicked so we’ll now illustrate the
working of the kicker:
 |
 |
| Before |
After |
The kicker is very large. Before you use this component
see that the location is known at the beginning of the
drawing and that you choose a good location. Our
solenoid was a pull type. Actually, this was a good
system to give an extra acceleration to the ball.
You can see a picture of the frame that was sent to the
3D printer. The printing took 33 hours!
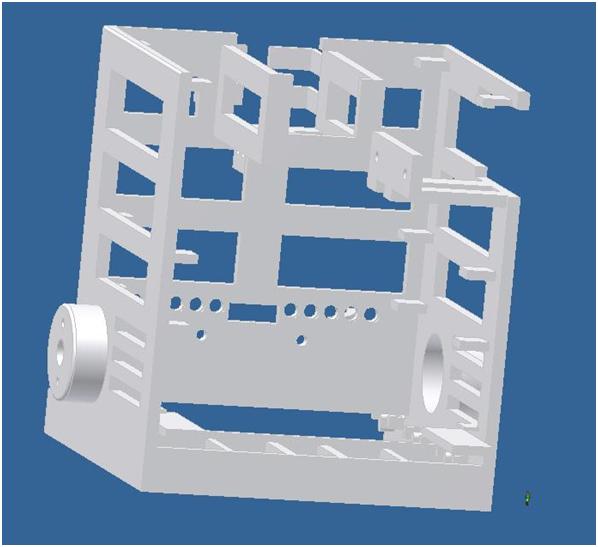
An important remark for the future, especially for the
students who will use the 3D-printer is to think about
the price!! For 1 cm2 it cost 1 euro, that’s a lot. Our
first design, see figure on your left, cost 760 euro! So
we had to change a lot of our design so eventually we
got a design of 385 euro, see the 2nd figure. We lost
much time because of this.
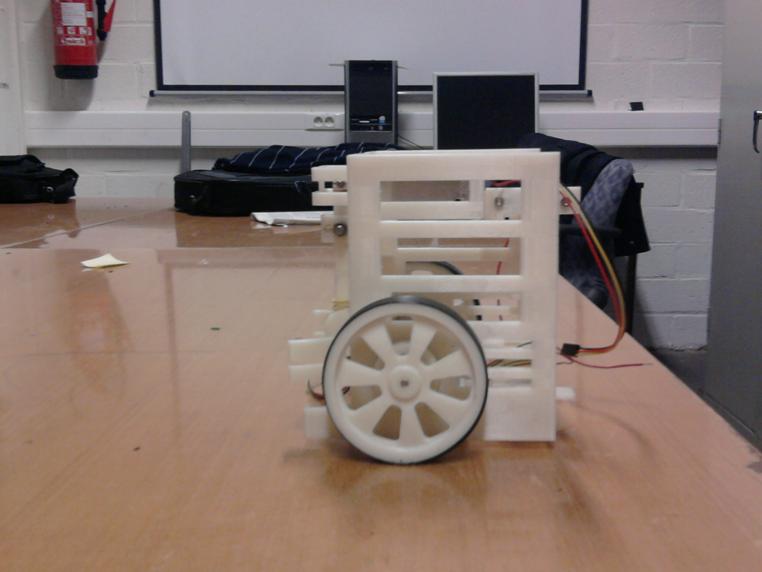
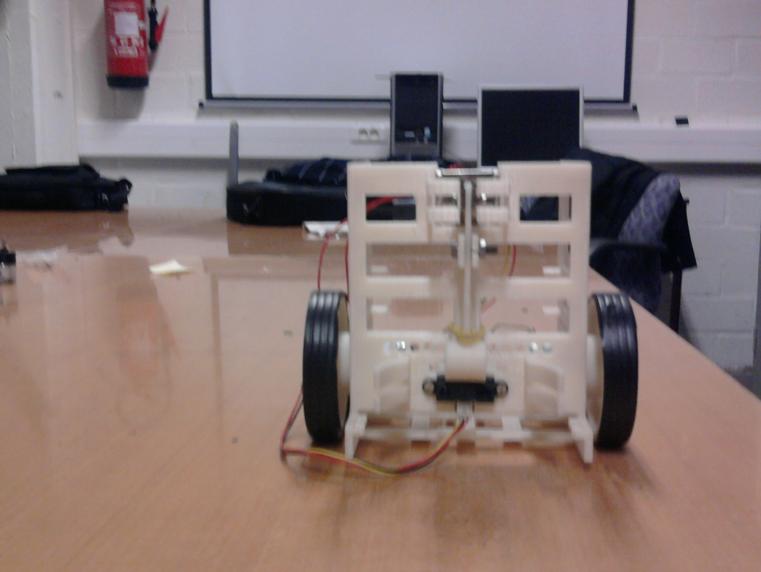
After we assembled all the printed parts together and
installed the motors, kicker and distance sensors, the
body looked something like this:
 |
 |
| Body right side |
Body front side |
- To download the inventor files, click
here
top
|
|
| (c)2010 Mohammed Al Bouzidi - Kristof De Buysere - Marco Facchin
- Mbayi Kazadi |
|

